You may need to build custom window sills for your next home improvement project. The video below is a great resource, which demonstrates the steps needed to build custom window sills from scratch. This is a good example of how custom window sills can change the overall appearance of a room.
How to Build Custom Window Sills
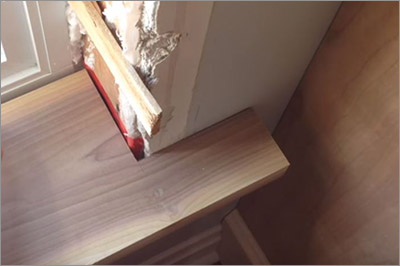
Notch the New Sill: Measure the depth from the face of the window frame to the inside of the drywall. Center the new sill board over the window opening and mark the location of the notch on both ends. Mark the depth slightly undersized so you can trim it to suit afterwards for a perfect fit.
Trim to Fit: Place the notched window sill in the opening and push it back against the drywall. Use a divider tool to measure the gap between the window and the new sill. Scribe a line along the back edge of the notch and trim accordingly. Note, each end of the sill plate may require a different depth of cut. Measure, mark, and cut both ends individually.
Trim to Length: Temporarily put the window jamb extension in place so you can determine the proper length of the horn on each end of the sill. Measure from the outer face of the jamb, outwards 3-3/4” and mark the sill. This is also a good time to establish the overall depth of the sill. A good starting point for custom window sills is a dimension of approximately 2” beyond the front edge of the jamb extension. In the video project, the sill would be trimmed to an overall depth of 6-1/2”.
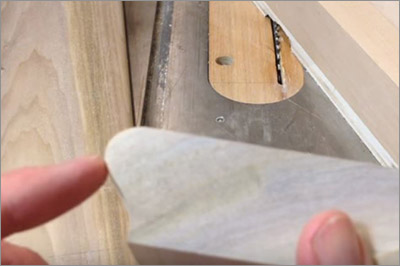
Contour the Sill: Use a router to contour the top side of the sill on the front edge as well as along both ends. Contour the underside of the sill and make a cove cut. To do so, clamp an angled guide to the bed of your skill saw, as shown in the video. Using sandpaper, round off the remaining point on the underside of the sill. This is the intersection of where the two cuts meet.
Attached the Sill: Use wood screws to attach the custom window sill to the existing framework. Be sure to hold the sill firmly in place so you don’t have any gaps along the backside of the sill.
Custom Window Sills – Part II
This custom window sills project is a little too big to squeeze into this single article. With the sill itself in place, be sure to read our post on adding the trim and apron to finish off the project.
Need help with your custom window sills? Contact our support team at (815) 634-8922.