DIY Window Muntins may be just the weekend project you were looking for. Of course, my recommendation is to install genuine, professionally built, Muntin Bars. But if your budget is tight, and you feel you have the skills, you may want to consider DIY Window Muntins in the interim. With a little free time, a few basic tools, and a minimal skill level, you can complete this project in an afternoon. All you need is a measuring tape and a pair of household scissors. Well maybe a simple calculator as well, if you’re a little rusty in math.
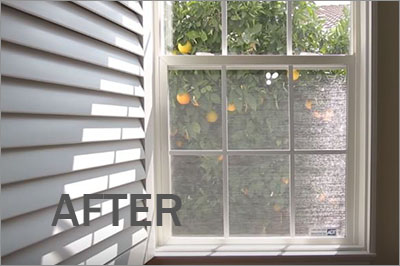
DIY Window Muntins Kit
I came across this DIY Window Muntins kit by newpanes.com. If you are looking for a quick and easy solution for DIY window muntin bars the video below shows how to install the New Panes kit. Here is a step-by-step guide:
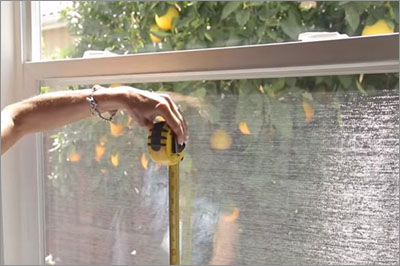
Measure the Window: Take an accurate measurement of the width and height of the window. Measure just the exposed area of the glass, do not include the wood frame in your measurement.
Calculate the Muntin Bar Lengths: In this example we will create a grid of window lites that is 2 high x 3 wide, for a 26” by 26” section of glass. Creating the vertical bars is easy. New Panes was kind enough to make the bar material an even dimension of 1” wide, so the math is simple. Take the 26” dimension, subtract an inch, divide by 2 and you need 4 bars that are 12-1/2” long. To calculate the length of the horizontal divider bars you will need to do some simple math as well. With a width of 26”, subtract 2” for the 2 vertical bars, leaving 24”. Divide this number by 3, and you will need 3 bars at 8” long. The math is 26-2=24, then 24/3=8.
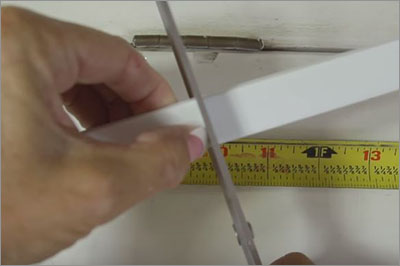
Cut the Muntin Bars: The beauty of the New Panes Kit is the bars themselves can be cut with common household scissors. You won’t need a fancy miter saw to build your window muntins. Take extra care to cut the bars square and to the exact length needed so your kit will look good once installed.
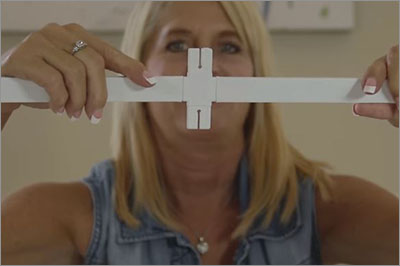
Assemble the Grid: It doesn’t get any easier than this. Simply slide in the cross inserts at the intersection point for the bars. Then slide in the knife point attachment brackets in the open ends of each bar.

Install the Grid: Place the bottom knife blade points against the window frame. Then bend the assembly ever so slightly so you can push the upper points in place. Repeat this for the horizontal point brackets. Conversely, in lieu of using the pointed mounting brackets, you can use sticky backed Velcro squares to adhere the grid to the glass. Cut the Velcro into 1” squares and mount it to the end of each muntin bar as well as adding one square of Velcro at each intersection. Align the grid with the window and glass and press into place.
If this sounds like too much work, or if you want professional grade window mutins contact the Window Repair Guy. Check out our custom muntin fabrication shop.
Interested in professional grade, custom Muntins for your windows? Contact our support team at (815) 634-8922.